Activity 3: Record a Video
The affordance of my video is for demonstrations. I planned to make this video in 2 minutes, but it was trickier than I thought. I ended up with a five minutes video. This video is created to present how to wrap a tennis racket with an overgrip. I used my Nikon D5600 digital camera as a medium close-up and my cellphone camera as a backup filming from my right side. The process is challenging as I need to take care of the camera while focusing on wrap the racket. I had a few scenes of me outside of the camera, which was not used in the final production. I replaced t+hem with the clips made with my cellphone. But the difference between the resolutions of the two clips would be an issue.
Activity 4: Record a Screencast
Learning objectives: viewers will know how to login to LinkedIn learning with their TRU student account manage their skills selected and how to connect their LinkedIn account with their learning account.
This was the first time I have recorded a screencast. I didn’t have specific teaching subject to share, so I shared how to use the TRU student account to use LinkedIn learning for free, including how to manage the skills (topics) and connect the learning account with the LinkedIn account. I used QuickTime Players, which was already installed on my Mac, to record it. To make it easy for the audience to follow my instructions, I used one of the cursor highlighter extensions from Google Chrome.
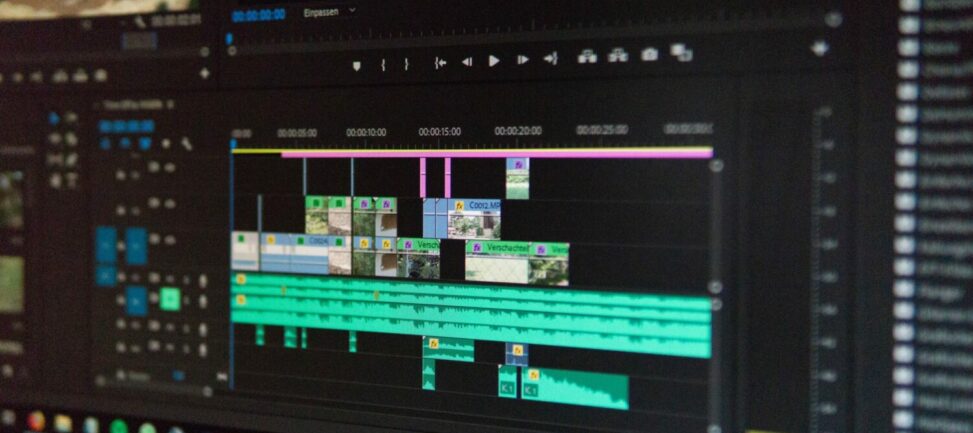
Activity 5: Edit a Video & Activity 6: Add Captions to a Video
This is the edited vision of the video created for activity 3. I added the intro and outro with titles and background music. The intro and outro are made with Canva. It provides animation templates that make the editing process way much easier. I just need to select the template, change the text and export it as a MP4 file. It also has a video and audio repository offering copy-right free sound and video clips. Although a five-minute video is not too long, I still segmented the whole process into seven steps by adding the text motion in the video, which would help viewers stick to the instruction. I used Adobe Premiere Pro to combine all the pre-prepared clips. It’s interesting to create an instructional video like this. I have found new tools to use to make the process less tiresome since I don’t have to create everything from scratch, such as using Canva or other text motion templates. Similar to the activity for the audio caption, I added English captions for this video. But it takes a while for the caption to be replaced and updated.
Paul Chong
Hi Jun,
Really awesome job with the video. It looks really professionally done! I also liked how you made sections with different titles in the YouTube timeline. Also, the subtitles look really well done and timed and I’m sure you went over and edited those as well 🙂
Gulia Iamaleeva
Hi Jun. I liked the one teaching to wrap a tennis racket. Your instructions are clear that makes them easy to follow and you have placed a camera in the right position. I like the choice of colors as well. It seems that clothes colours and staff around the scene are small things, but they make a shot looks nicer and more pleasant for a viewer. Just a few thoughts. I would suggest, to start the video with the introduction. It’s always nice to see a person’s face, at least at the beginning. I might make a few cuts to shorten a video and use printed words. If I decided to create a video teaching some process I would use some text. Well done!